

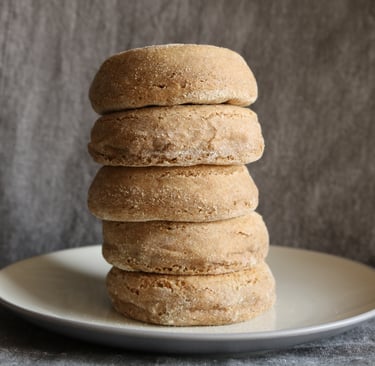
Sourdough English Muffins
SOURDOUGHBAKESBREAKFAST
It has taken me more than a few tries to get these right.
Once in a while I would nail them, but other times I would end up with really thin, partially blackened discs. Let me just say, consistency of dough and griddle heat are quite important factors . . . and time and again I would make the same rookie mistakes.
With my track record in mind, I want to both encourage you to give this recipe a try and to not be too hard on yourself if your first round or two (or five) don't turn out as you'd hoped. Sourdough English muffins have a bit of a learning curve, I've come to find.
But they are so worth it.
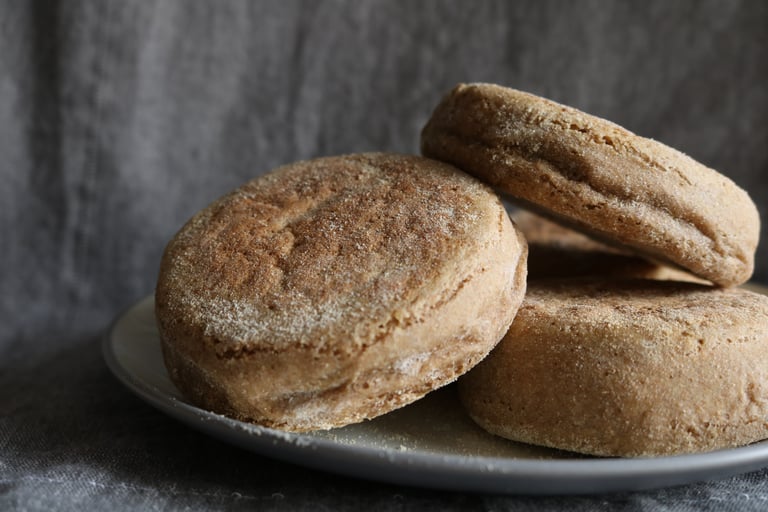
Stick it out. You'll be rewarded. The chew on these are just splendid. I really wish I could send you a taste. (What's more, as many as I've made that have not turned out as beautifully as those shown here, none of them have ever been inedible!) Take heart, dear baker. Take heart.
This recipe uses freshly ground einkorn flour. I have not tried it with pre-ground einkorn, but as freshly ground flour is known for soaking up more water than the pre-milled variety, I would suggest using a tad less flour. (Caveat: the biggest reason earlier trials of these came out so thin was due to a dough that was too wet. So, you'll just have to test it out. Use your instinct, try something, learn, repeat.) All that said, you may also use any kind of fresh-milled flour. I've used spelt, red fife, and others. Go with your gut and adjust hydration levels as needed.
As lovely as it is to eat fresh bread untoasted, I really do prefer these toasted. I think that is part of what makes it an English muffin in my mind. But the choice is yours! Toast or no toast, that is up to you. These also freeze and thaw marvelously. Yes. Put them in the time capsule.
And our favorite ways to eat them? Usually one side with olive oil and nutritional yeast, the other with nut butter and jam. Best of both worlds. They also make a delightful base for open-faced breakfast sandwiches (or small handheld sandwiches, for that matter).
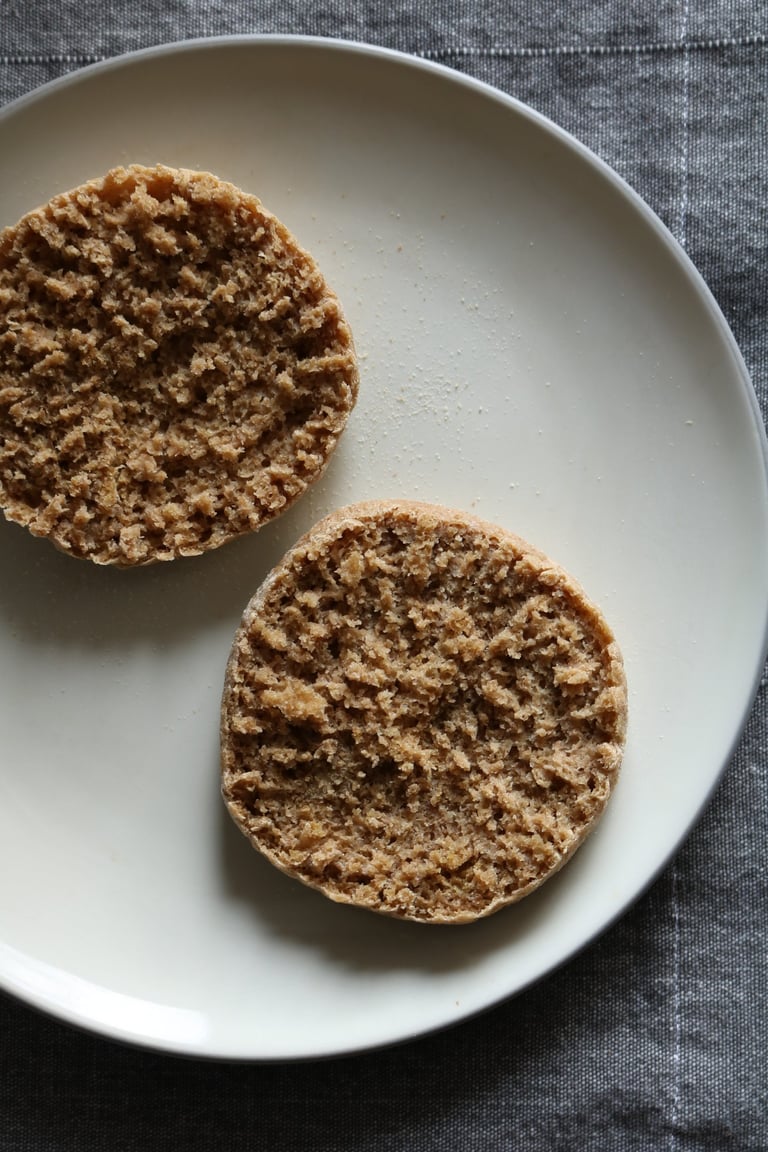
Oh, and always fork-split your muffins. No knives. Forks over knives with English muffins. Always.

120 g. active sourdough starter
1 cup water
375 g. einkorn flour (I use freshly ground flour; if you use pre-ground, you may not need quite as much. Follow the directions below, and aim for a thick consistency of dough.)
scant 1 tsp. salt
1 tsp. baking soda
1 T. honey
additional flour for shaping
semolina for sheet pan
Ingredients
Sourdough English Muffins
Make the base dough: In a large glass bowl, mix 120 g. starter with 1 cup water; the starter should be broken up in the water for easy mixing.
Grind 375 g. einkorn berries into the bowl; mix until all the flour is incorporated (it will be a stiff mixture).
Ferment: Cover and let stand on the counter overnight (8 - 12 hours).
Finish the dough: In the morning, start by preparing a sheet pan with a piece of parchment paper; sprinkle this generously with semolina flour. Also take out a cutting board (or clean off a work surface) for cutting and shaping the dough. The dough will be quite sticky, so have additional flour ready, too (I just use all-purpose here for ease).
Next, sprinkle the salt and baking soda on top of the dough, drizzle over the honey, and mix in with a spatula or wooden spoon.
If the dough is sticky, use a bit of flour to coat the board and your hands; knead the dough lightly a few times to ensure the additions are mixed in well. (Use additional flour only when the dough threatens to stick to your hands—you do want it to be manageable, but you have to work through a bit of natural tackiness.)
Gently and swiftly work the dough into a circle on the board, gently patting it down for easy division. Using a bench scraper, divine the dough into eight equal triangles (cut into quarters, then divide those in half). Since the middle of the dough will be sticky, move them apart from one another a tad before beginning to shape.
Shape the muffins: Like making rolls, bring the corners into the center, and repeat this similar movement, neatly gathering and pinching dough from the sides into the bottom. Flour hands as needed (I keep a small pile on the board to use), especially for the sticky bottoms. Gently form a nice ball in your hands, and then pat down gently and use finger tips to make into a disc. (Resist any urge to flatten them too much, though. They should be roughly four inches (10 cm) in diameter and between 1/2 and 3/4 (2 cm) inch high.
As each one is formed, place gently on the lined and "semolina-ed" pan. Shape the rest.
Rise: I've found that these muffins don't need long to rise, and if left too long, they can loose their shape, depending on how wet your dough turned out. You should see them begin to puff up a bit after shaping, within about 5 to 15 minutes. If you can see the first ones puffing up a bit even as you finish shaping the last muffin, start heating your skillet right away. If they don't begin to puff yet, give them a bit of time before heating your pan.
Cook: On the stovetop, heat up a griddle over medium-low heat (you want the pan cooler than you'd use for pancakes). Using a flat metal spatula, transfer as many muffins as you can comfortably fit onto your skillet (if you need to do two batches anyway, best to play it safe and just do four at a time). Cook on the first side for 3 - 5 minutes (they should puff up, and the bottom should crisp up, but not become too dark. Just lightly golden. Carefully flip them over and cook on the other side for 3 - 5 minutes. You can test doneness by lightly pressing down on the top; they should feel cooked through (not squishing raw dough out the side).
When done cooking, transfer to a wire rack to cool.
*Optional: if needed, finish cooking in the oven. If the tops and bottoms are well cooked, but the edges still seem a bit tacky or raw, finish the cooking in a 350 F oven for about 5 minutes.
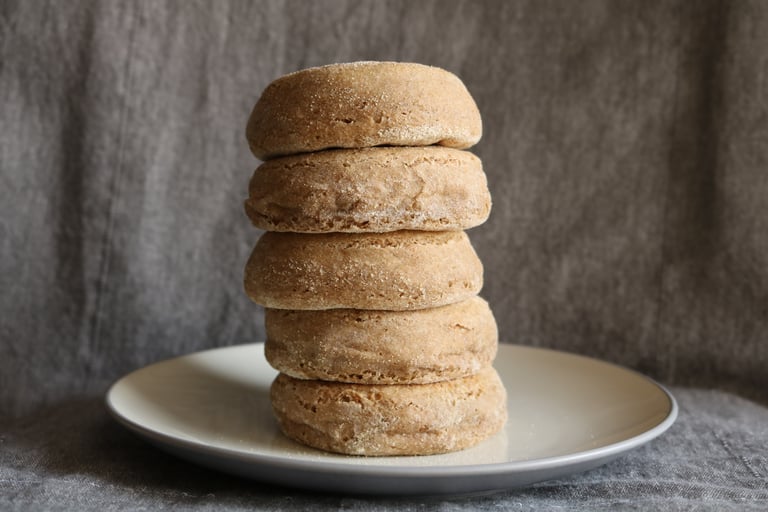
Makes 8 muffins
Instructions
Tip for eating: I always fork-split my muffins. That's the way to get the lovely nooks and crannies. So, if you want to be traditional, don't use a knife. Grab a fork, and stick it in toward the center and pull it back out, continuing all around the edge of the muffin until you can neatly pull the two halves apart. Toast, and top as desired.
Savor.
Last updated: December 19, 2024